
Mastering the Art of Homemade Bread: How to Bake Like a Professional
- 1. The Basics of Bread Making
- 2. Key Ingredients for Professional-Quality Bread
- 3. Professional Techniques for Baking Perfect Bread
- 4. Expert Tips for Rising and Shaping Your Bread
- 5. Common Mistakes to Avoid in Bread Baking
- 6. Must-Have Tools for Professional-Quality Bread
- 7. Where to Buy the Best Bread-Baking Products
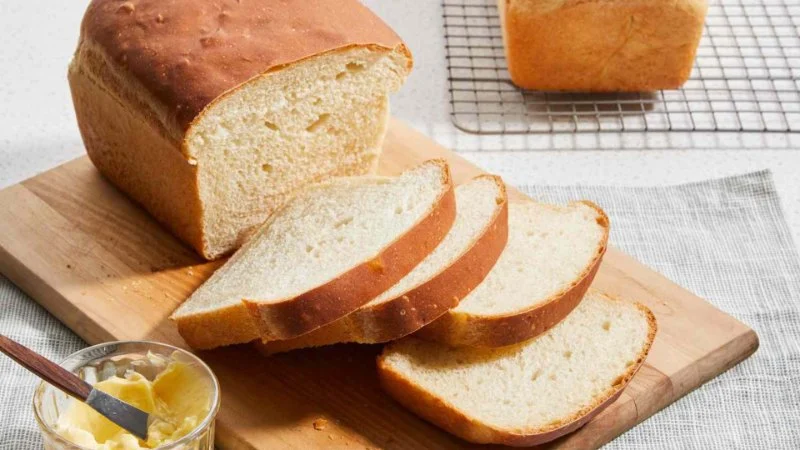
1. The Basics of Bread Making
Homemade bread offers unparalleled flavor and texture, but learning how to bake it like a professional requires understanding the essential steps involved in the process. Bread making might seem intimidating at first, but with the right techniques and a bit of practice, anyone can master it. In this guide, we will walk you through each stage of the bread-making process, from selecting the right ingredients to perfecting your kneading and baking techniques.

Bagel World Park Slope / best bagels park slope
339 5th Ave, Brooklyn, NY 11215, USA
2. Key Ingredients for Professional-Quality Bread
The foundation of any great homemade bread lies in its ingredients. To bake like a professional, make sure to use the following key ingredients:
- Flour: Use high-quality bread flour with a higher protein content to achieve a chewy and structured texture. Whole wheat flour can also be used for added flavor.
- Yeast: Active dry yeast or instant yeast are common choices. Yeast is responsible for making the dough rise and gives the bread its characteristic texture.
- Water: Water activates the yeast and helps with gluten formation, which is essential for the bread’s structure.
- Salt: Salt enhances flavor and controls yeast activity. It’s an essential ingredient for balancing the dough’s rise.
- Optional Additives: Some bakers add honey, olive oil, or vinegar to improve flavor and texture.
Using fresh, high-quality ingredients is crucial to achieving bakery-style bread at home.

Philly Pretzel Factory / west chester pretzel factory
West ChesterChester CountyPennsylvania
1075 West Chester Pike, West Chester, PA 19382, USA
3. Professional Techniques for Baking Perfect Bread
Baking like a professional involves mastering a few key techniques that affect the quality of your bread:
- Kneading: Proper kneading develops the gluten structure in the dough, giving it strength and elasticity. Knead until the dough becomes smooth and elastic.
- Proofing: Proofing (or letting the dough rise) is essential for the bread to develop flavor and texture. Ensure the dough is placed in a warm, draft-free area and allowed to rise properly.
- Shaping: Shape the dough carefully to ensure an even rise. Use gentle handling to avoid deflating the dough.
- Baking: Bake at the right temperature, usually between 375°F and 475°F, depending on the bread. A preheated oven with steam (a tray of water) can help create a crispy, golden crust.
Mastering these techniques will take your bread from good to great, giving it that professional bakery feel.
4. Expert Tips for Rising and Shaping Your Bread
Here are some expert tips to enhance your bread-baking skills:
- Resting Time: Allowing the dough to rest between each rise makes the bread more flavorful and easier to shape. Don’t rush the process.
- Cold Fermentation: For even more flavor, allow the dough to ferment in the refrigerator for 12-24 hours. This slow fermentation deepens the taste.
- Shaping for a Professional Look: Practice shaping your dough into tight, smooth rounds or loaves. This helps with even baking and creates that classic bakery look.
Using these tips will help you produce bread that rivals your favorite bakery.
5. Common Mistakes to Avoid in Bread Baking
Even the most experienced bakers make mistakes. Here are some common issues to watch out for:
- Overworking the Dough: Kneading too much can lead to tough bread. Aim for a smooth, elastic texture without overdoing it.
- Incorrect Oven Temperature: Baking at too high or too low of a temperature can result in uneven or undercooked bread.
- Not Enough Rising Time: Rushing the proofing stage can lead to dense, under-risen bread. Be patient and allow the dough to rise fully.
By avoiding these mistakes, you can significantly improve your bread’s texture and flavor.
6. Must-Have Tools for Professional-Quality Bread
To make bread like a professional, having the right tools can make a big difference. Here are some essential tools for your kitchen:
- Bread Lame: A sharp blade for scoring the dough, creating beautiful patterns and ensuring even rising during baking.
- Kitchen Scale: Accurate measurements are crucial in baking. A kitchen scale ensures you’re using the right proportions of ingredients.
- Proofing Basket: A rattan proofing basket helps shape and support the dough during its final rise.
- Dutch Oven: A heavy pot for baking, which helps retain heat and moisture, resulting in a crusty, professional-looking loaf.
Investing in these tools will elevate your bread-making game.
7. Where to Buy the Best Bread-Baking Products
If you're serious about making homemade bread like a professional, it’s essential to have the right ingredients and equipment. Check out 【Ac Fix】 for the best bread-baking products and tools, from premium flour to high-quality proofing baskets and dutch ovens.


 The Bakehouse4.0 (390 reviews)
 Auntie Anne's4.0 (13 reviews)
 French Patisserie4.0 (51 reviews)
 Mar Mar LLC2.0 (6 reviews)
 Savy Donuts3.0 (41 reviews)
 Top Pot Doughnuts4.0 (256 reviews)
 How to Make Delicious Pumpkin Churros with Chocolate Dip
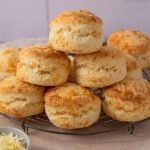 How to Make Easy, Flaky Cheese Scones: A Simple Recipe for Perfect Results
 How to Bake the Best Homemade Vanilla Bean Cupcakes | Heavenly Delights Bakery
 The Best Bakery Pastries to Enjoy with Your Morning Coffee
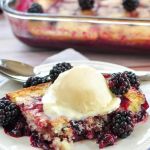 How to Make the Best Homemade Blackberry Cobbler
 How to Bake Your Own Homemade Baked Alaska