
- 1 - Introduction to Bakery-Style Pastries at Home
- 2 - Essential Tools for Making Bakery-Style Pastries
- 3 - Key Ingredients for Perfect Pastries
- 4 - Step-by-Step Guide to Making Pastries
- 5 - Common Mistakes to Avoid While Baking
1. Introduction to Bakery-Style Pastries at Home
Have you ever wondered how bakeries manage to create those perfectly flaky, buttery, and delicious pastries? The good news is that with a little practice, you can create bakery-style pastries in your own kitchen, even without the expensive professional equipment. Whether you're craving croissants, Danish pastries, or a buttery puff pastry treat, it's entirely possible to replicate the same bakery-quality results with the right techniques and ingredients. In this article, we'll share expert tips on how to make bakery-style pastries from scratch, even if you're working with limited tools.

2. Essential Tools for Making Bakery-Style Pastries
While professional bakeries use high-end equipment like commercial mixers and rolling machines, you don’t need to break the bank to make bakery-quality pastries at home. Here are a few essential tools that will help you get started:
- Rolling Pin: A good rolling pin is a must-have for working with dough. Opt for a wooden rolling pin for a smoother finish, and make sure it’s large enough to roll out the dough without any trouble.
- Pastry Brush: This is essential for glazing pastries with butter, egg wash, or syrup. A good pastry brush will help you achieve that golden, glossy finish.
- Mixing Bowls: You’ll need a variety of mixing bowls in different sizes to prepare your dough and fillings.
- Sharp Knife or Bench Scraper: A sharp knife or a bench scraper is helpful for cutting and shaping your dough, ensuring clean edges for neat pastries.
- Baking Sheets and Parchment Paper: You’ll need baking sheets for your pastries to rest on while baking. Parchment paper helps prevent sticking and ensures even baking.
- Cooling Rack: After your pastries come out of the oven, a cooling rack helps air circulate around the pastries, preventing sogginess.
3. Key Ingredients for Perfect Pastries
To make bakery-quality pastries, the quality of your ingredients is just as important as your techniques. Below are the key ingredients that are essential for creating that perfect texture and flavor:
- Butter: The key to flaky pastries is cold, high-quality butter. Choose unsalted butter for better control over the flavor of your pastries.
- Flour: All-purpose flour works best for most pastry recipes. For a more delicate, tender pastry, consider using pastry flour, which has a lower protein content.
- Sugar: While not always used in the dough, sugar is essential in many pastry recipes, especially for glazes or fillings. Choose a fine sugar to help it dissolve evenly.
- Eggs: Eggs are used to bind ingredients together and to give the pastry dough a rich texture. They also play an essential role in egg wash, helping the pastry to develop a golden finish.
- Milk or Cream: Milk and cream help to bring together the ingredients and add richness. They are often used in the dough or in the filling for certain pastries.
- Yeast or Baking Powder: Depending on the type of pastry you're making, yeast or baking powder will help the dough rise and give it the airy, flaky texture we all love.
4. Step-by-Step Guide to Making Pastries
Now that you have the tools and ingredients, it's time to make your pastries! Below is a general step-by-step guide to making delicious pastries at home:
- Prepare the Dough: Start by mixing your dry ingredients (flour, salt, sugar, etc.) in a bowl. Add cold butter, cut into cubes, and work it into the flour using your hands or a pastry cutter until the mixture resembles coarse crumbs.
- Add Liquid: Add your liquid ingredients (milk, water, or cream) gradually, stirring gently to form a dough. Be careful not to overwork the dough, as it can lead to tough pastries.
- Chill the Dough: After shaping the dough into a disc, wrap it in plastic wrap and chill for at least 30 minutes. Chilling the dough helps solidify the butter, which creates those delicate layers.
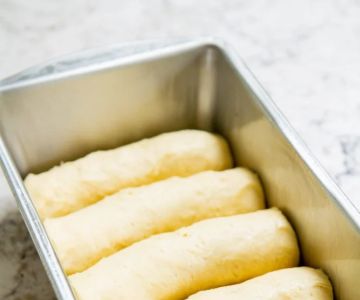
- Roll the Dough: Once chilled, roll out the dough on a lightly floured surface. If you’re making puff pastry, remember to fold and roll the dough several times to create multiple layers.
- Shape and Fill: Cut and shape the dough into your desired pastry shape, such as croissants or Danish. Add your filling or topping at this stage.
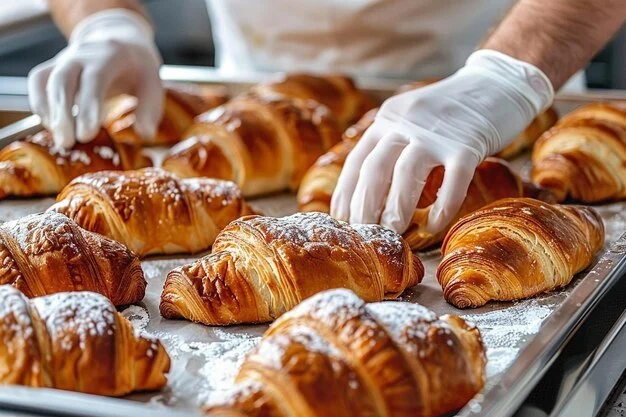
- Bake: Place the pastries on a prepared baking sheet, brush with an egg wash, and bake in a preheated oven until golden brown and crispy.
- Cool and Serve: Allow your pastries to cool slightly before serving. A cooling rack will help keep them crisp while cooling.
5. Common Mistakes to Avoid While Baking
While making pastries can be fun and rewarding, there are a few common mistakes that can prevent your pastries from turning out as expected:
- Not Using Cold Butter: Always use cold butter when making pastry dough. If the butter is too soft, it won’t create the flaky layers you're aiming for.
- Overworking the Dough: Overmixing or overworking the dough can result in tough pastries. Handle the dough gently and avoid kneading it too much.
- Skipping the Chill Time: Letting your dough chill is essential for achieving the perfect texture. It allows the butter to harden, creating the layers and flakiness in the dough.
- Not Preheating the Oven: Always preheat your oven before baking pastries. If your oven isn’t hot enough, the pastries may not rise or bake evenly.
 Einstein Bros. Bagels3.0 (212 reviews)
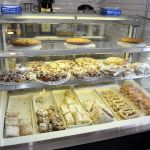 The Milleridge Bakery3.0 (50 reviews)
 Bella's Bake Shop4.0 (99 reviews)
 Pansies Cakes4.0 (6 reviews)
 Kroger Bakery5.0 (2 reviews)
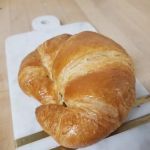 Glady's Donuts & Sandwiches4.0 (48 reviews)
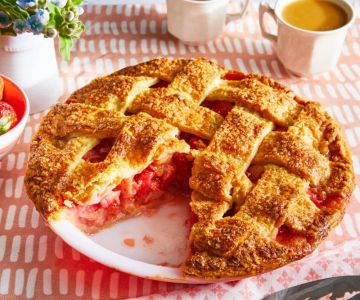
 How to Make Bakery-Style Cherry Pie with a Perfect Flaky Crust
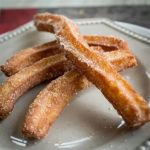 How to Make the Best Churros at Home
 How to Make the Perfect Homemade Vanilla Pudding
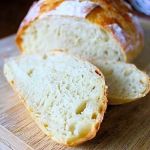 How to Make the Best Artisan Bread at Home - Step-by-Step Guide
 The Best Baking Recipes for Busy Weekends: Quick and Delicious Ideas
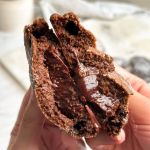 How to Make the Best Chocolate Lava Cookies