
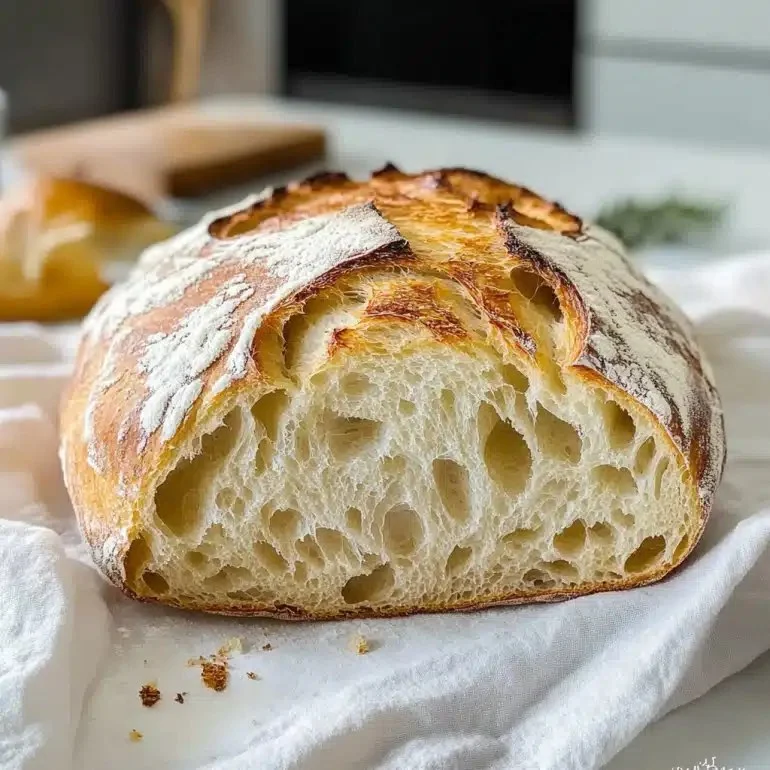
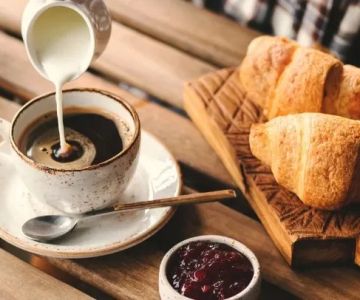
Bake Your First Artisan Bread with Confidence
- preparing-your-ingredients - selecting flour, water, yeast, and salt for perfect dough
- mixing-and-kneading - how to combine ingredients and develop gluten structure
- first-rise-and-fermentation - tips for proofing dough to enhance flavor and texture
- shaping-and-scoring - creating the signature artisan loaf appearance
- baking-and-cooling - oven settings, baking times, and resting for best results
1. Preparing Your Ingredients
The foundation of a great artisan loaf starts with quality ingredients. Choose unbleached bread flour for structure, filtered water for purity, active dry yeast or sourdough starter for rise, and sea salt for flavor balance. Measuring accurately is crucial; too much flour can make the dough dense, while too little may result in sticky, unmanageable dough.
Consider trying a small experiment with different flours or hydration levels to understand how each factor influences your final loaf. This hands-on approach will quickly build your confidence and intuition in bread making.

Collegetown Bagels / ithaca bakery bagels
420 College Ave, Ithaca, NY 14850, USA
2. Mixing and Kneading the Dough
Combine your flour, water, yeast, and salt into a large mixing bowl. Stir until all ingredients form a shaggy dough. Then begin kneading, either by hand or with a stand mixer, until the dough is elastic and smooth. Proper gluten development is key to that airy, chewy texture beloved in artisan breads.
A simple test to check readiness is the “windowpane test”: stretch a small piece of dough gently—if it forms a thin translucent sheet without tearing, the gluten is well-developed.

La Bon Bake Shoppes / labon bakery
Franklin TownshipSomerset CountyNew Jersey
456 Elizabeth Ave Suite 4, Somerset, NJ 08873, USA
3. First Rise and Fermentation
After kneading, place the dough in a lightly oiled bowl and cover it with a damp cloth or plastic wrap. Allow it to rise in a warm, draft-free area until doubled in size, typically 1–2 hours. This fermentation stage develops flavor and improves crumb structure.
For more complex flavor, consider a slow cold fermentation in the refrigerator for 12–24 hours. This technique enhances taste and gives your loaf that characteristic artisan tang.
4. Shaping and Scoring Your Loaf
Once the dough has risen, gently deflate and shape it into your preferred form—round boules or elongated batards. Transfer to a floured proofing basket or parchment-lined tray for a second rise. Scoring with a sharp blade just before baking allows the bread to expand and creates the signature artisan look.
Experimenting with different scoring patterns can also be a creative expression, making each loaf uniquely yours.
5. Baking and Cooling
Preheat your oven to 450°F (230°C). For a crispy crust, introduce steam by placing a pan of hot water in the oven or spritzing the dough lightly. Bake for 30–40 minutes until the crust is golden and the loaf sounds hollow when tapped.
Cooling is essential—allow your loaf to rest on a wire rack for at least an hour. Cutting too early can lead to a gummy texture and diminished flavor.
Real-Life Case: A Beginner’s Success Story
Sarah, a first-time bread baker in New York, followed this step-by-step approach. Initially nervous about kneading and shaping, she gradually gained confidence. Her first loaf, a rustic sourdough boule, surprised her with a golden crust, soft crumb, and subtle tangy flavor. She now bakes weekly, experimenting with seeds and herbs for artisan variety.
Tips for Consistent Success
- Weigh ingredients accurately with a kitchen scale.
- Maintain consistent water temperature for yeast activation.
- Allow dough sufficient rest and fermentation time.
- Use steam during baking for optimal crust development.
- Practice shaping gently to avoid deflating the dough.
Enhancing Flavor and Texture
Consider incorporating techniques like autolyse, where flour and water are mixed and rested before adding yeast and salt. This simple step improves extensibility and creates a more open crumb. Experiment with different types of flour blends to create subtle flavor profiles, such as adding whole wheat, rye, or spelt.
Encouraging Creative Expression
Baking artisan bread is not just about following steps; it’s an art. Explore different scoring designs, add inclusions like olives, nuts, or dried fruits, and adjust hydration levels for crust and crumb preferences. Each loaf tells a story of your personal baking journey.
Bringing It Home: Your Next Loaf
Once you master this first artisan loaf, the possibilities expand. For those ready to elevate their baking, specialized artisan bread kits or high-quality sourdough starters can provide consistent results and reduce preparation time. Platforms like Artisan Bread Hub offer tools and ingredients curated for beginners and enthusiasts alike.
Take the next step in your baking adventure: explore starter kits, premium flours, and professional-grade baking tools to perfect your craft. Every loaf is a reward for patience, practice, and creativity.


 Good Times Donuts4.0 (55 reviews)
 Nothing Bundt Cakes4.0 (60 reviews)
 Tous Les Jours4.0 (42 reviews)
 JJBakes & Co.4.0 (183 reviews)
 Housewife Bakery & Cafe4.0 (525 reviews)
 Asian Market Bakery4.0 (34 reviews)
 How to Make Moist and Fluffy Red Velvet Cupcakes: Expert Baking Tips
 How to Make the Best Chocolate Covered Marshmallows – Easy Tips and Recipes
 5 Simple Tips to Bake Perfect Cookies Every Time
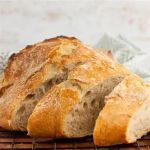 How to Make the Best Artisan Bread at Home: A Complete Guide
 How to Make the Perfect Lemon Poppy Seed Muffins: A Simple and Delicious Recipe
 How to Bake the Best Homemade Chocolate Eclairs: Step-by-Step Guide