

- what-makes-a-bakery-style-danish-so-special
- the-foundation-mastering-the-dough
- laminating-the-dough-for-flaky-layers
- sweet-and-savory-fillings-that-wow
- shaping-and-proofing-like-a-pro
- baking-and-glazing-the-final-touch
- real-life-success-from-home-bakers
1. What Makes a Bakery-Style Danish So Special?
There’s something unmistakably indulgent about a freshly baked Danish pastry. It’s not just the buttery aroma or the glossy glaze—it’s the perfect balance of flaky layers, rich fillings, and elegant presentation that makes it feel like a treat from your favorite European bakery.
Recreating this experience at home might seem intimidating, but with the right technique and mindset, it’s absolutely achievable. If you're just starting, browsing tools and ingredients at Heavenly Delights Bakery can help set you up for success.

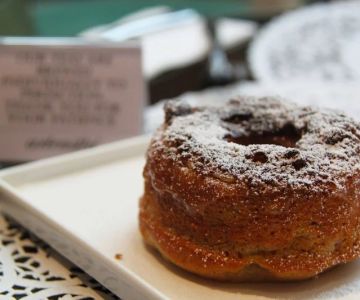
Wicked Bagel - Woburn / wicked bagel massachusetts avenue lexington ma
WoburnMiddlesex CountyMassachusetts
345 Washington St, Woburn, MA 01801, USA
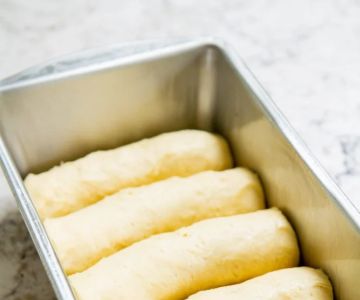
2. The Foundation: Mastering the Dough
Great Danish pastries start with an enriched yeast dough, which differs from plain puff pastry because it includes milk, sugar, and eggs. These elements add tenderness and flavor. The dough should be kneaded just enough to develop gluten, then chilled to prepare it for lamination.
One pro tip: chill all your ingredients before combining them. This makes the dough easier to handle during the folding and rolling process later. Many seasoned home bakers find success by preparing the dough a day ahead, letting it ferment slowly in the refrigerator overnight.
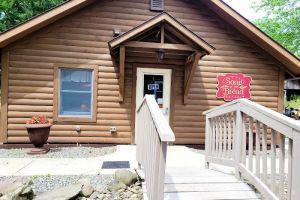
Song Of The Bread Bakery / song of the bread
Le RaysvilleBradford CountyPennsylvania
12044 PA-706, Le Raysville, PA 18829, USA
3. Laminating the Dough for Flaky Layers
Lamination is where the magic happens. This step involves layering butter into the dough through a series of folds and rolls, creating dozens of delicate layers. Use high-fat European-style butter for best results—it stays solid longer during handling and produces superior flake.
Try the “book fold” technique (also known as the double fold) to get that classic Danish structure. Remember to chill the dough between each fold. Rushing this step can cause the butter to melt and ruin your layers. Patience and cold temperatures are key!
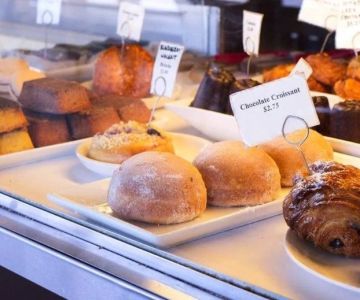
4. Sweet and Savory Fillings That Wow
Traditional Danish fillings include cream cheese, fruit compotes, almond paste, or custards. But don’t be afraid to get creative. A raspberry jam swirl or an herbed goat cheese with caramelized onion can offer a gourmet twist.
Fillings should be thick enough to hold their shape during baking. If you're using fresh fruit, toss it with a little cornstarch and sugar to prevent sogginess. Heavenly Delights Bakery offers a curated selection of small-batch jams and pastry creams ideal for these treats.
5. Shaping and Proofing Like a Pro
Classic shapes like pinwheels, envelopes, or coils not only look beautiful but bake evenly. Roll the dough to about 1/4 inch thickness and use a ruler if needed for consistency. After shaping, let your pastries rise in a warm but not hot environment until they’re slightly puffy—usually 1 to 2 hours.
Brush them with an egg wash before baking for a deep golden crust. Avoid overproofing, which can cause your pastries to collapse in the oven. Keeping a watchful eye here makes all the difference between bakery-level results and a flat finish.
6. Baking and Glazing: The Final Touch
Bake your pastries at 375°F to 400°F, depending on your oven. You’re looking for puffed, golden brown layers with no soggy bottoms. Rotate the trays midway for even color.
Once cooled, a simple glaze made with powdered sugar, milk, and a dash of vanilla adds that iconic finish. For an extra layer of elegance, try brushing apricot glaze over fruit-topped Danishes to give them that professional shine. One home baker shared how her daughter mistook her homemade pastries for a box from a downtown patisserie.
7. Real-Life Success from Home Bakers
Emily from Portland spent a weekend learning the process step-by-step using guidance from pastry blogs and support from her local kitchen shop. She shared her flaky blueberry Danish success story online, crediting her results to quality ingredients and a good butter brand.
Meanwhile, James from Dallas said his breakthrough came from watching a professional demo on lamination and practicing with scraps before diving into a full batch. He now hosts weekend brunches where Danish pastries are the main attraction—and his kids love helping decorate them.
Whether you’re a first-timer or a weekend baking warrior, perfecting Danish pastries at home is all about patience, creativity, and passion. For premium ingredients and pro tips, visit Heavenly Delights Bakery—because your kitchen deserves a little piece of heaven too.
 CupcakeMagic0.0 (0 reviews)
 La Sabrosona Bakery Inc.4.0 (125 reviews)
 Elida's Bakery5.0 (47 reviews)
 Educated Palate Bakeshop4.0 (39 reviews)
 Countryside Bakery4.0 (43 reviews)
 O'Dalys Bakery4.0 (215 reviews)
 How to Bake Fluffy Pancakes Without Baking Powder
 How to Bake the Best Homemade Chocolate Eclairs: Step-by-Step Guide
 5 Delicious Ways to Use Leftover Bread for Baking at Home
 The Essential Guide to Baking Muffins, Cakes, and More: Tips, Recipes, and Tools
 How to Make the Best Homemade Brioche: Step-by-Step Tips for U.S. Bakers
 Discover the Magic of Bread Baking: A Beginner’s Journey