
The Joy of Baking Your First Loaf: A Beginner’s Breadmaking Journey
- 1-Understanding-Ingredients
- 2-Equipment-and-Preparation
- 3-Mixing-and-Kneading
- 4-Proofing-and-Rising
- 5-Baking-and-Tips-for-Success
- 6-Personal-Stories-and-Inspiration
- 7-Take-the-Next-Step
1. Understanding Ingredients
1.1 Flour Types and Selection
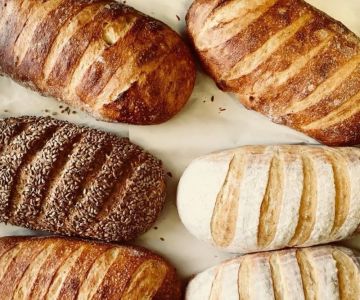
The foundation of any bread is flour. Choosing between all-purpose, bread, or whole wheat flour affects texture, flavor, and rise. Beginners often start with bread flour for a balance of structure and softness.
1.2 Yeast, Water, and Salt
Yeast activates the dough, water controls hydration, and salt enhances flavor. Understanding each ingredient's role helps you anticipate how your bread will turn out.
2. Equipment and Preparation
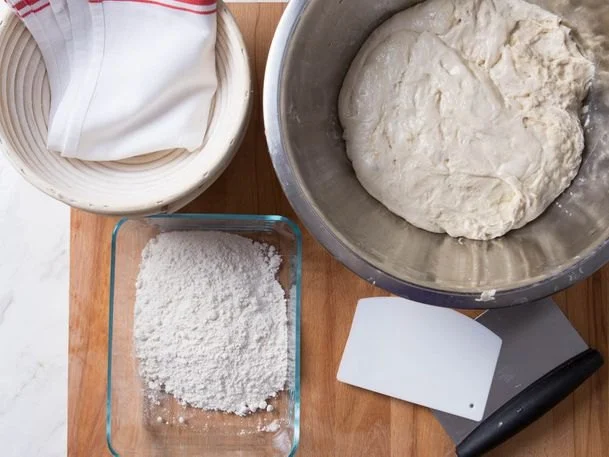
2.1 Essential Tools
Basic equipment includes mixing bowls, measuring cups, a digital scale, and a sturdy baking pan. While bread machines are convenient, hands-on baking teaches important techniques.
2.2 Workspace Setup
Ensure a clean, warm, and draft-free environment for kneading and proofing. Proper preparation reduces frustration and increases your chances of a perfect first loaf.
3. Mixing and Kneading
3.1 Combining Ingredients
Begin by dissolving yeast in warm water, then add flour and salt. Mix until a rough dough forms. This step ensures even distribution of yeast and ingredients.
3.2 Kneading Techniques
Kneading develops gluten, giving bread structure. Practice gentle folding and pressing motions. Beginners may notice improved dough elasticity after 8-10 minutes of kneading.
4. Proofing and Rising
4.1 First Rise
Place dough in a lightly oiled bowl and cover. Let it rest until doubled in size, typically 1-2 hours. Temperature and humidity influence rising times.
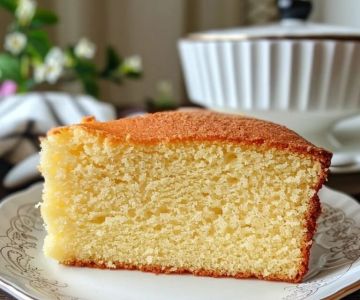
4.2 Shaping and Second Rise
Shape dough into a loaf and allow a second rise. This step develops a light, airy texture and prevents dense, flat bread.
5. Baking and Tips for Success
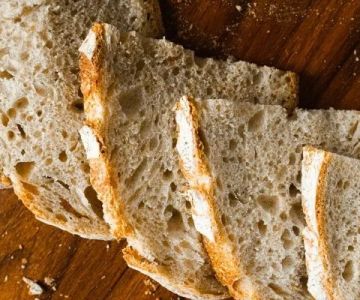
5.1 Oven Temperature and Timing
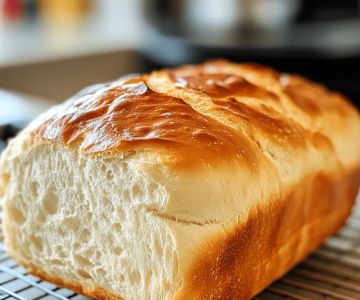
Preheat the oven to the recommended temperature (usually 375-425°F). Bake until golden brown and hollow-sounding when tapped. Adjust time depending on loaf size and type.
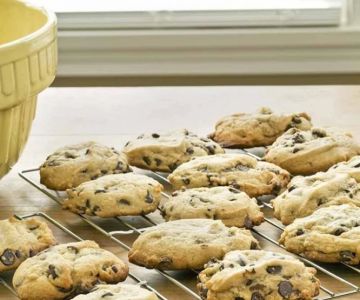
5.2 Cooling and Storage
Let bread cool completely on a wire rack. Storing in a cloth bag maintains freshness. Avoid slicing immediately to preserve crumb texture.
6. Personal Stories and Inspiration
6.1 A First Loaf Success
One beginner shared their experience of baking during a weekend retreat. Following simple guidance, they achieved a beautifully risen, aromatic loaf that impressed friends and family.
6.2 Learning Through Trial
Mistakes are part of the journey. Some beginners encounter sticky dough or uneven crusts but quickly improve with practice and observation.
7. Take the Next Step
7.1 Exploring Recipes and Variations
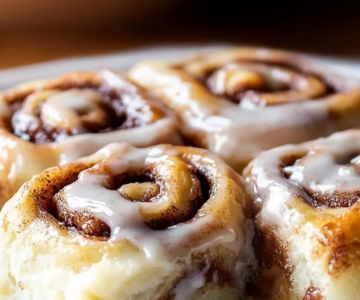
Once confident with your first loaf, experiment with herbs, seeds, and specialty flours. Each variation teaches new techniques and flavor combinations.
7.2 Access Quality Ingredients and Tools
For beginners aiming to elevate their breadmaking, consider sourcing high-quality ingredients and reliable baking tools. Visit our Breadmaking Hub to explore recommended products that simplify the journey and enhance your results.
 Sammie's Cookies0.0 (0 reviews)
 Paradise Sweets5.0 (4 reviews)
 Strathmore Bagels & Deli4.0 (649 reviews)
 adieu-glu4.0 (87 reviews)
 The Smart Donut3.0 (20 reviews)
 Great American Cookies3.0 (50 reviews)
 What Makes a Perfect Muffin? Tips from Top Bakers
 The Ultimate Guide to Making Bakery-Style Cupcakes at Home
 Discover the Best Gluten-Free Bakery Options in Your Area
 How to Make Delicious Lemon Lush Cake – Step-by-Step Recipe
 The Best Bakery Items for People Who Love Chocolate and Nuts
 How to Make Bakery-Style Chocolate Truffles at Home