
How to Make Bakery-Style Pretzels: A Step-by-Step Guide to Soft, Chewy Perfection
- overview-bakery-pretzels-step-by-step - Learn structure of pretzel making from dough to baking
- dough-preparation-yeast-activation - Understand how to build soft, airy texture
- shaping-technique-classic-twist - Master the signature pretzel form
- boiling-baking-process - Discover the secret behind bakery-style crust
- real-experience-tips-home-baking - Practical insights from home baking attempts
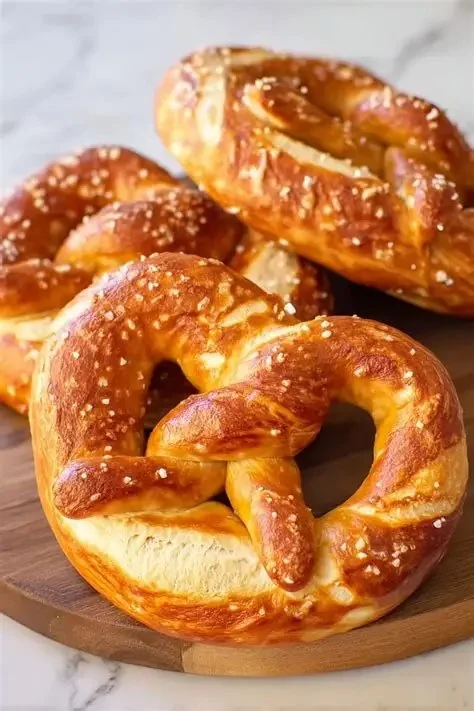
Understanding What Makes Bakery-Style Pretzels Different
Bakery-style pretzels are not just another bread snack—they carry a signature texture that balances a chewy interior with a glossy, slightly crisp exterior. The difference usually comes down to technique rather than ingredients alone. Many home bakers assume pretzels require professional equipment, but the reality is far more forgiving if you understand the process behind them.
The most important element in learning How to Make Bakery-Style Pretzels is recognizing how dough hydration, fermentation time, and alkaline boiling interact. These three factors shape the final flavor and texture more than anything else.
The Foundation: Building the Perfect Pretzel Dough
Choosing Ingredients That Work Together
A classic pretzel dough uses basic pantry ingredients: flour, water, yeast, sugar, salt, and a small amount of fat. What often gets overlooked is the balance between hydration and gluten development. A slightly firm dough is preferred because it helps the pretzels maintain structure during boiling and baking.
One home baker from Chicago shared an experience where overly soft dough caused the pretzels to lose shape during boiling. After adjusting flour ratios and kneading longer, the results improved dramatically. This kind of trial-and-error is common and part of the learning curve.
Kneading and Fermentation
Kneading develops gluten, which gives pretzels their chewy texture. A good benchmark is about 8–10 minutes of kneading until the dough becomes smooth and elastic. After that, resting the dough allows yeast to create subtle air pockets.
Fermentation should not be rushed. Even a short 45–60 minute rise can significantly improve flavor depth. Bakers who skip proper fermentation often end up with dense results instead of light, bakery-style texture.
Shaping the Iconic Pretzel Form
Rolling and Looping Technique
Once the dough is ready, dividing it into equal portions ensures consistent baking. Each piece is rolled into a long rope, usually around 18–24 inches. The signature twist is created by forming a U-shape, crossing the ends, and pressing them into the bottom curve.
This shaping step is where many beginners struggle. If the dough resists stretching, letting it rest for a few minutes helps relax the gluten. This prevents tearing and uneven thickness.
Real-World Baking Story
A home baker in New York once tried shaping pretzels while multitasking dinner preparation. The result was uneven thickness, causing some pretzels to bake faster than others. After focusing solely on shaping with patience, the consistency improved noticeably. This highlights how attention to detail matters in artisan-style baking.
The Secret Step: Boiling in Baking Soda Water
Why This Step Matters
The boiling stage is what separates pretzels from regular bread. A quick dip in a baking soda solution creates the signature brown crust and slight chewiness on the outside.
Without this step, pretzels would resemble soft breadsticks rather than true bakery-style pretzels. The alkaline environment accelerates browning during baking and enhances flavor complexity.
Timing and Technique
Each pretzel should be boiled for about 20–30 seconds per side. Over-boiling can lead to a metallic taste or overly dense texture, while under-boiling results in pale crusts.
Careful handling is essential here, as the dough becomes delicate when wet. Using a slotted tool or spatula helps transfer pretzels safely.
Baking to Golden Perfection
Oven Temperature and Texture Control
Pretzels are typically baked at high heat, around 425°F to 450°F. This ensures a rapid crust formation while keeping the inside soft and airy.
For home ovens, positioning the tray in the center rack ensures even airflow. Rotating halfway through baking can also help achieve consistent browning.
Finishing Touches
Salt is traditionally added immediately after boiling or before baking. Some bakers prefer coarse salt for texture contrast, while others experiment with toppings like garlic butter, cinnamon sugar, or cheese blends.
At this stage, creativity becomes part of the process. One bakery-inspired home experiment involved brushing pretzels with herb butter after baking, creating a flavor similar to gourmet café snacks.
Common Mistakes and How to Fix Them
Dough Too Sticky or Too Dry
If the dough is sticky, adding small amounts of flour gradually helps. If it is too dry, a teaspoon of water at a time can restore balance. Small adjustments make a big difference.
Pretzels Losing Shape During Boiling
This usually happens when the dough is under-kneaded or over-proofed. Ensuring proper gluten development prevents collapse in hot water.
Uneven Browning in Oven
Uneven heat distribution is often the cause. Rotating trays and avoiding overcrowding can solve this issue effectively.
Real Experience: From First Attempt to Bakery-Level Results
Many home bakers report that their first batch of pretzels looks far from perfect. One common story involves dough sticking to surfaces, uneven twisting, and inconsistent baking results. However, by the second or third attempt, improvements become noticeable.
The learning curve is part of what makes mastering How to Make Bakery-Style Pretzels so rewarding. Each batch teaches something new about dough behavior, timing, and oven control.
For those who want to explore more baking inspiration, ingredient ideas, and kitchen tools designed for pretzel making, Camping With Kayla offers curated suggestions that can help elevate your homemade baking experience.
Final Thoughts on Mastering Pretzel Craft at Home
Creating bakery-style pretzels at home is less about perfection and more about understanding process and patience. Once the technique becomes familiar, the results can rival many commercial bakeries. The combination of soft interior, glossy crust, and rich aroma makes this recipe a rewarding addition to any home kitchen routine.
If you're ready to take your baking further, experimenting with toppings, dough variations, and shaping styles will open even more possibilities. The journey of mastering pretzels is as enjoyable as the final bite itself.


 Tous les Jours Ballantyne4.0 (82 reviews)
 Auntie Anne's4.0 (27 reviews)
 Sweets by Mariela4.0 (54 reviews)
 El Sol Bakery Plus4.0 (24 reviews)
 Crumbl - Amherst4.0 (871 reviews)
 Songbird Kitchens5.0 (14 reviews)
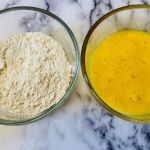 How to Use Different Flours in Your Baking for Healthier Treats
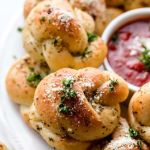 How to Make Fresh Homemade Garlic Knots
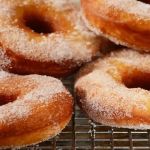 How to Make Your Own Bakery-Style Doughnuts at Home
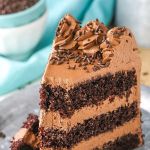 How to Bake the Best Chocolate Mousse Cake: A Step-by-Step Guide
 How to Make Bakery-Style Croissants with Puff Pastry: A Step-by-Step Guide
 How to Create Beautiful Cake Pops for Any Occasion